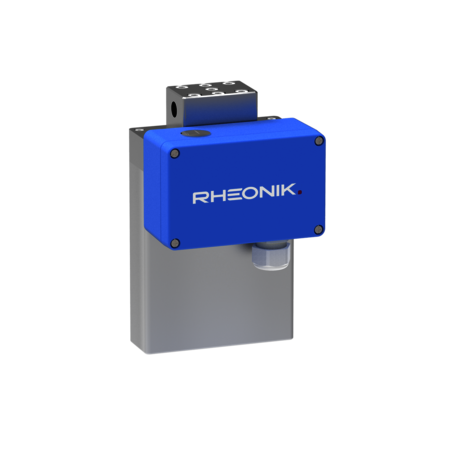
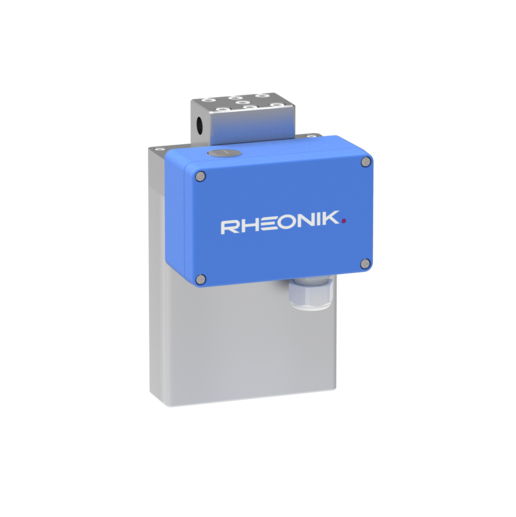
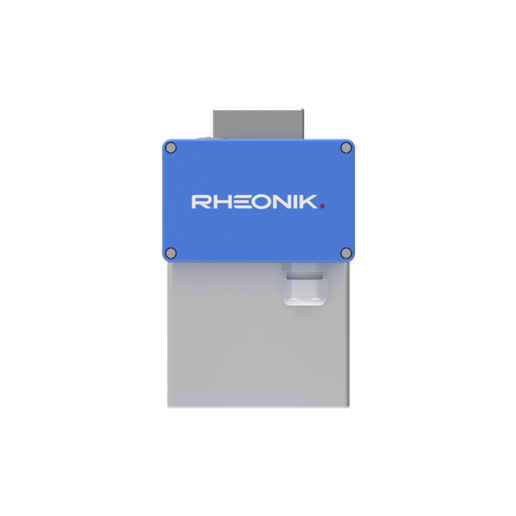
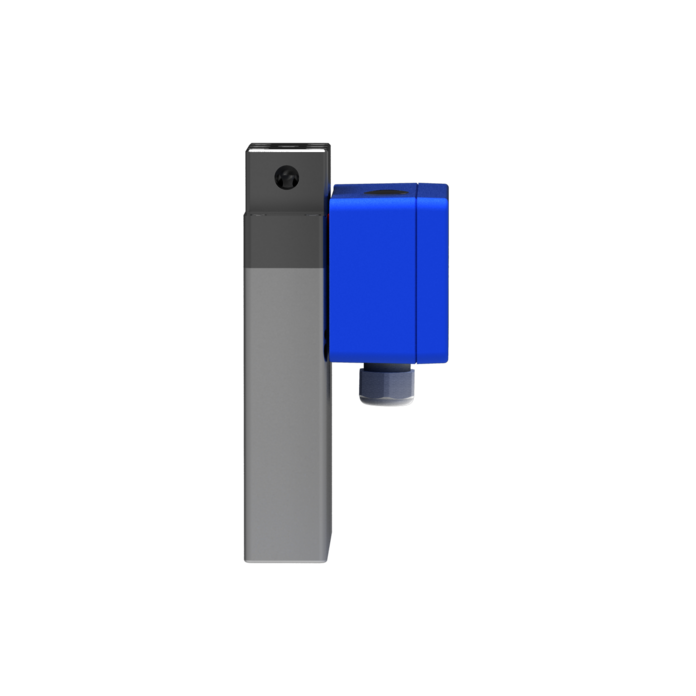
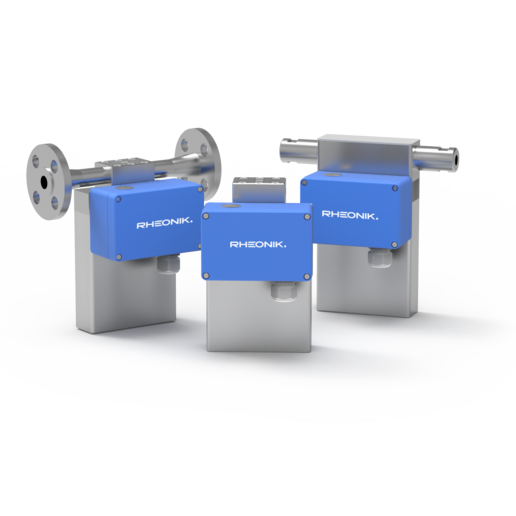
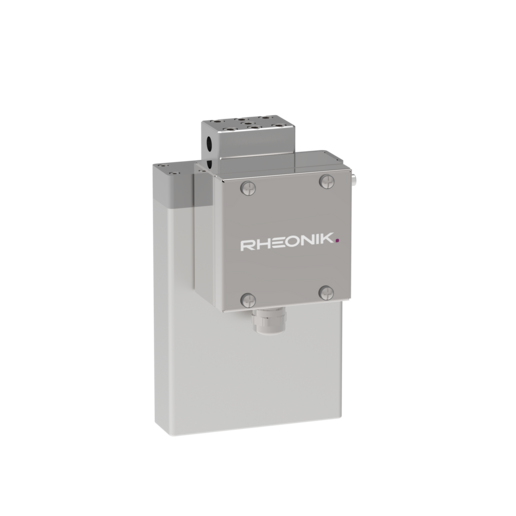
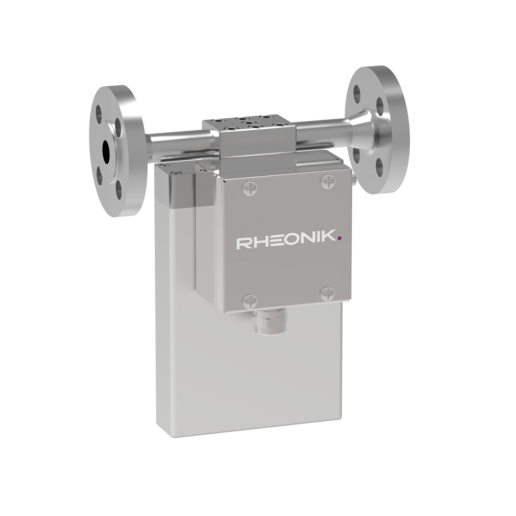
RHM 015
FLOW SENSOR
The RHM 015 Coriolis sensors offers solutions for the lowest flow rates – for flow control, batching and injections up the highest pressures in industry. Small, compact and highest performance.
- Range: 0.002 kg/min up to 1.2 kg/min
- Pressure: up to 1481 bar (21480 psi)
- Temperature: -196°C (-321°F) up to +210°C (410°F)
- Accuracy: 0.1 % of rate
- Materials: SS 316L / SS 316Ti, Alloy C22 – 2.4602, Super Duplex – 1.4410, Sandvik HP160
- Process Connection: ¼" up to 1"
Performance Data
Flow Measurement Uncertainty
Selected Sensors down to ±0.05 % ¹ of rate (Gold Line)
Standard Sensors down to ±0.15 % ² of rate
Flow Measurement Repeatability
Down to ±0.05 % of rate
Temperature Measurement
Better than ±1 °C
Density Calibration (Liquid)
Selected Sensors down to ±0.0005 kg/liter (Gold Line)
Standard Sensors down to ±0.0035 kg/liter
Uncertainties and flow measurement turn-down
The turn down capability from Qₙₒₘ of the flow sensor is driven mainly by its zero point stability. At the very low end of the measuring range the uncertainty (u) is dominated by zero point stability. The zero point stability of a standard sensor is: 0.000036 kg/min (0.000079 lbs/min). Zero point stability of a Gold Line sensor is 0.000019 kg/min (0.000042 lbs/min).
For flow Q ≥ ZP stability / (Base Calibration uncertainty/100) → u = calibration uncertainty
For flow Q < ZP stability / (Base Calibration uncertainty/100) → u = (zero stability/Q) * 100
Uncertainties from environmental and process conditions
If sensors are not zeroed at operating conditions, minor additional uncertainties can arise from elevated temperatures and pressures: ±0.00308 % of maximum flow per °C and ±0.0208 % of maximum flow per bar.
Process temperature effect on density: additional uncertainty of ±0.000641 g/cm³ per °C difference from calibration temperature with standard density calibration and of ±0.000073 g/cm³ per °C difference from calibration temperature with enhanced density calibration. This effect can be mitigated by a simple field density adjustment at operating conditions.
Process pressure effect on mass flow: The effect of pressure on flow measurement is 0.001 % of rate per bar. Compensation is possible by pressure sensor input (analog input or digital write) or manual value entry into the transmitter.
Process pressure effect on density: The effect of pressure on density measurement is 0.00012 g/cm³ per bar. Compensation is possible by pressure sensor input (analog input or digital write) or manual value entry into the transmitter.
Premium Plus, Ultimate, Low Flow and Enhanced Density Calibration come with Gold Line sensors and are not available in all materials, pressure and temperature ranges.
Reference conditions: 18-24°C Water @ 1-3 bar; Gas (Natural gas) 35-100 bar.
Measurement Tube Pressure Ratings
The maximum pressure (pₘₐₓ) of a sensor is determined by its lowest rated part. The lowest rated part can be either the measurement tube (pₘₐₓ indicated below), the connection block/manifold (pₘₐₓ indicated in the mechanical construction section) or the process connection (for pₘₐₓ see published standards or manufacturer information).
| 50 °C | 120 °C | 210 °C |
|---|---|---|---|
SS 316L (standard) | 452 bar | 402 bar | 339 bar |
Alloy C22 | 477 bar | 424 bar | 360 bar |
SuperDuplex ³ | 630 bar | 540 bar | 410 bar |
SuperDuplex ³ | 1050 bar | 900 bar | 720 bar |
SuperDuplex ³ | 1481 bar | 1379 bar | 1236 bar |
Sandvik HP160® | 1227 bar | 1183 bar | 800 bar |
¹ Requires 40 Series transmitter or higher
² Requires 20 Series transmitter or higher
³ Note minimum operating temperature for SuperDuplex stainless steel is -40°C

Couldn’t find what you were looking for?
Contact us with your specification for assessment and availability of other sensor configurations.
Other wetted materials may be possible for chemical compatibility, lower pressure drop, abrasion allowance or other application specific requirements. Rheonik can provide nearly any material for the wetted parts.
